
Empower your team
Wing Dash puts powerful device management tools directly in your hands, allowing your team to handle activations, troubleshooting, and account management without delays or dependencies.
Wing Dash · Business
Everything your team needs to activate, manage, and troubleshoot multi-carrier devices — from one dashboard, without waiting on support.
Jump to a task
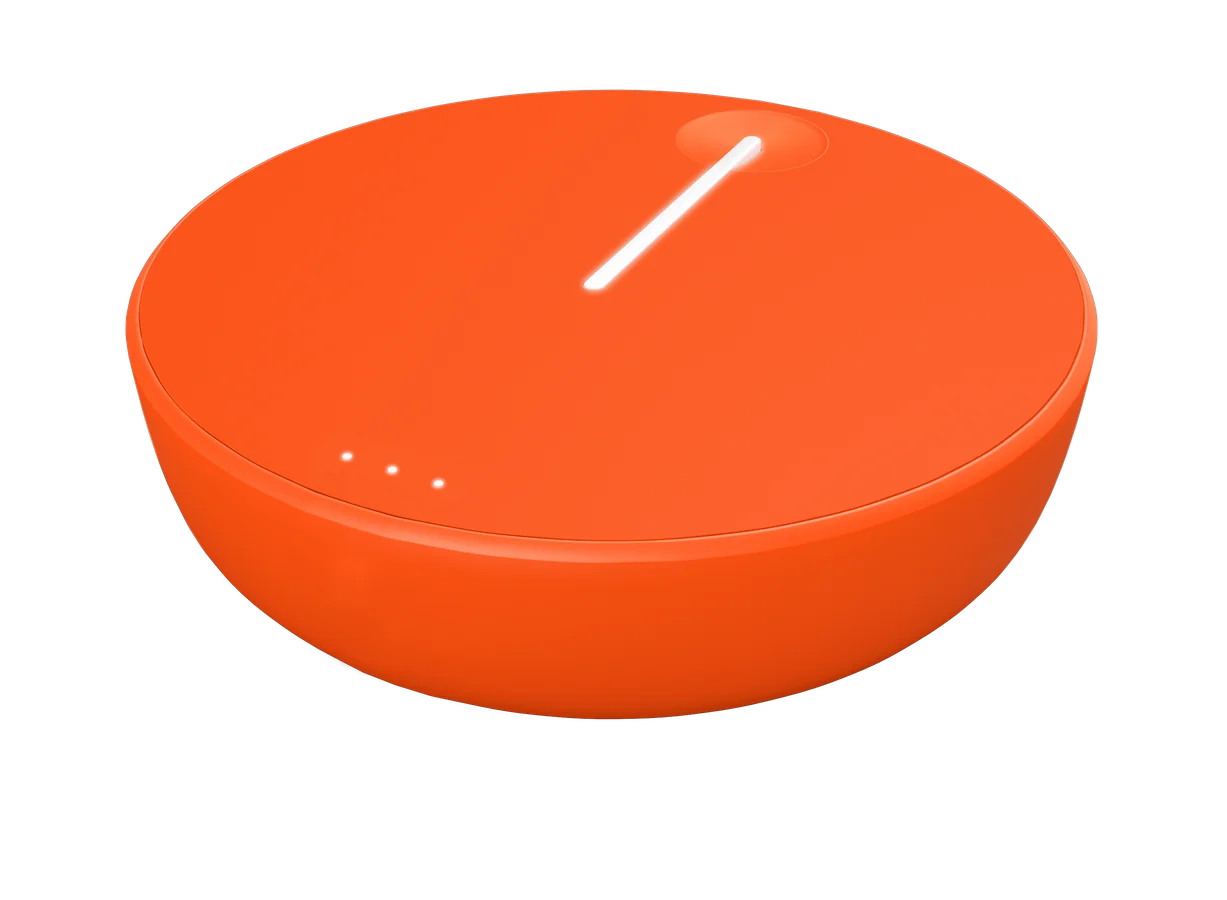
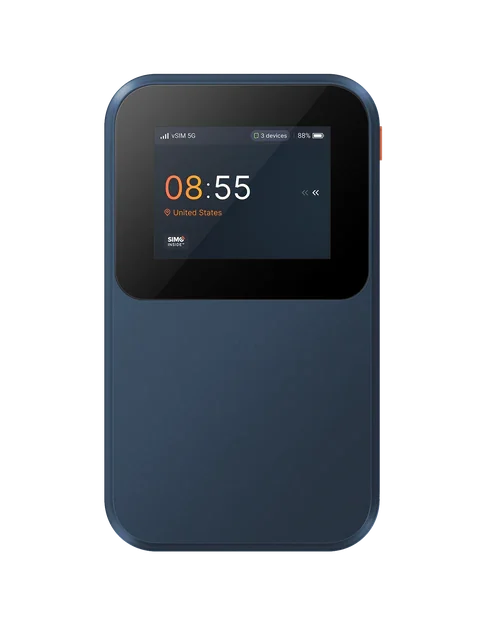
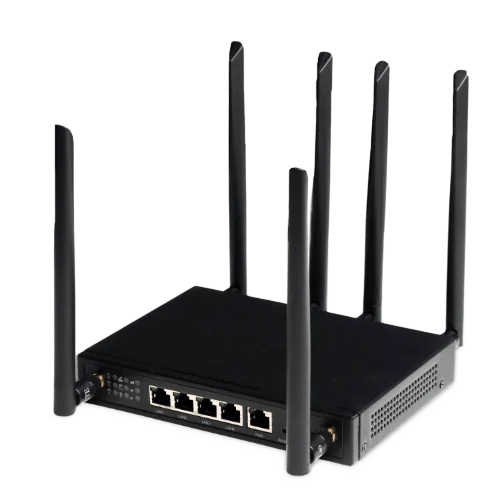
Cut support delays by using Wing Dash self-service tools instead of traditional escalation.
Access critical tools whenever you need them, without waiting for support availability.
Take complete ownership of your device ecosystem with comprehensive management tools.
Wing Dash puts powerful device management tools directly in your hands, allowing your team to handle activations, troubleshooting, and account management without delays or dependencies.
Resolve most common issues instantly and directly by using our comprehensive suite of remote diagnostic and management tools, now available at your disposal.

With role-based access controls you can delegate responsibilities and visibility of sensitive info appropriately, while maintaining oversight of your entire multi-carrier ecosystem from one central dashboard.
New
Wing Dash supports multi-user accounts with role-based access, so you can delegate responsibilities while maintaining appropriate security controls. Each role is tailored to specific business needs — team members get exactly the access they require, no more, no less.
Send the full name, email, and phone number in your Slack channel to have users added. Specify whether they should be an Admin or Agent and we'll add them to your account.
In future, business owners and admins will be able to add new users directly in the dashboard.
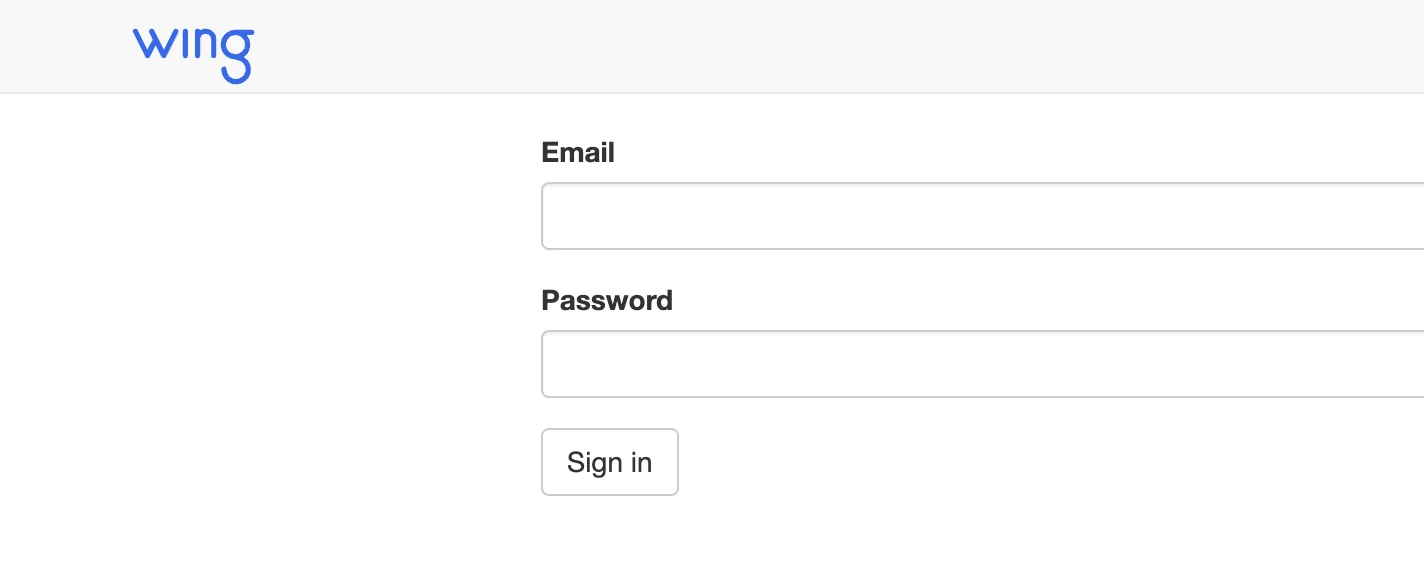
Once your multi-user login has been set up by an administrator, you can log in directly to manage multi-carrier devices and use the self-service tools.
Navigate to Wing Dash.
Enter your email and password in the respective fields.
Click Sign In to access your personalized dashboard.
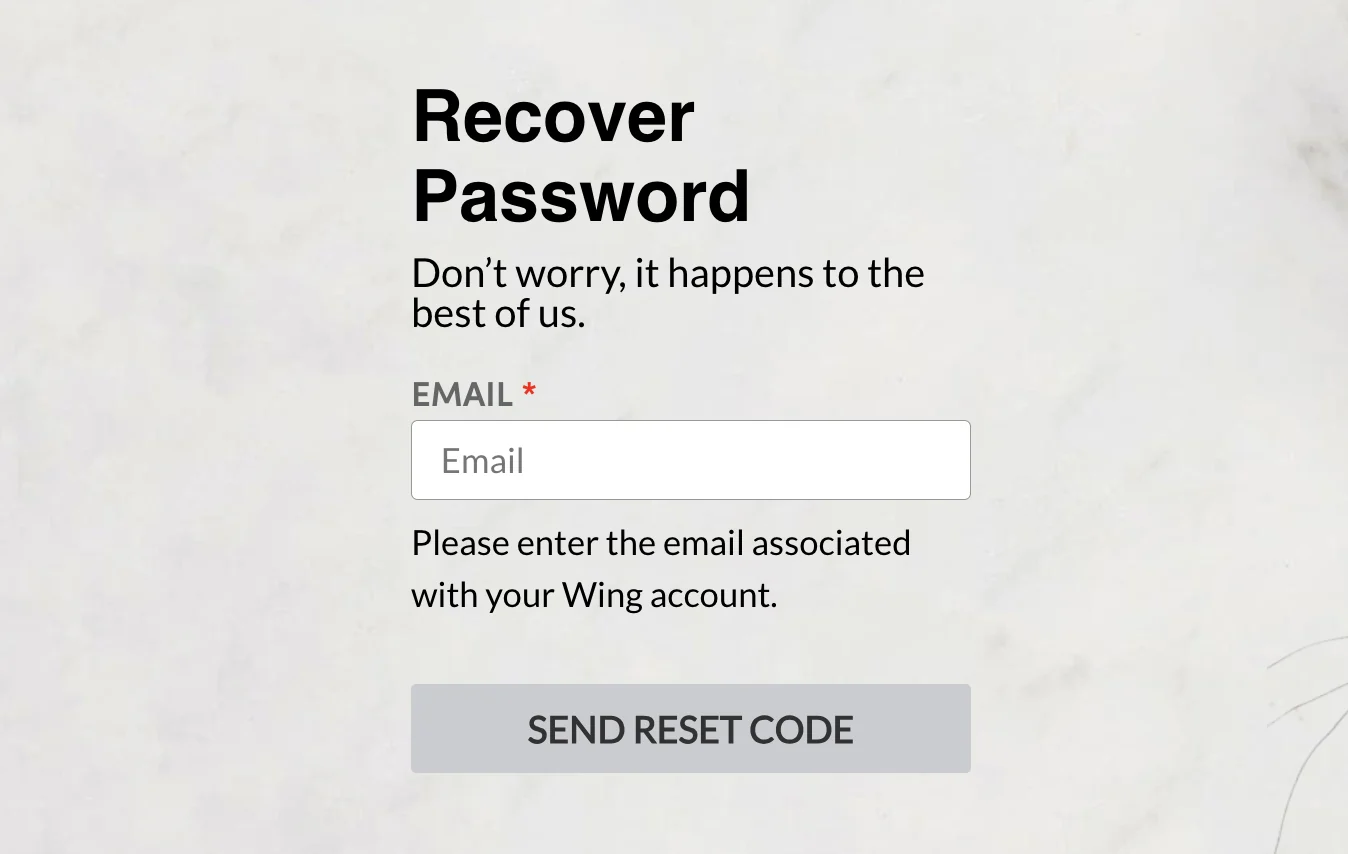
Set it up — or reset it — at wingalpha.com/reset-password, then navigate back to Wing Dash.
Our streamlined activation process eliminates unnecessary steps, so you can get customers up and running quickly with minimal training. Seven steps, start to finish.
Add a SIMO Subscription, enter the User ID, and go.
Set network priority — Open, Preferred Carrier or Exclusive — and activation type.
Input the device serial number and choose the appropriate data plan.
Activate the subscription and confirm. Status shows success: true.
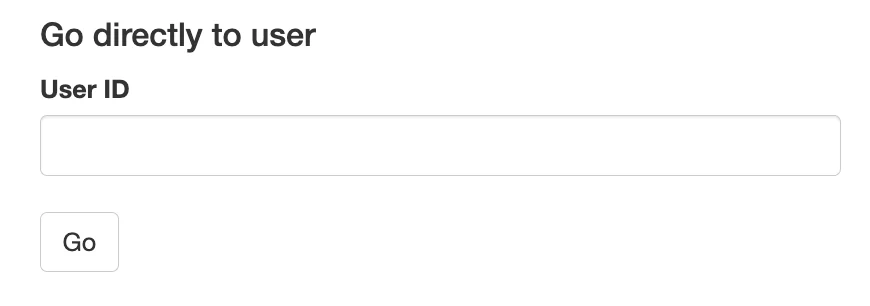
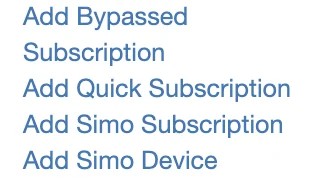

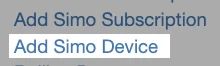
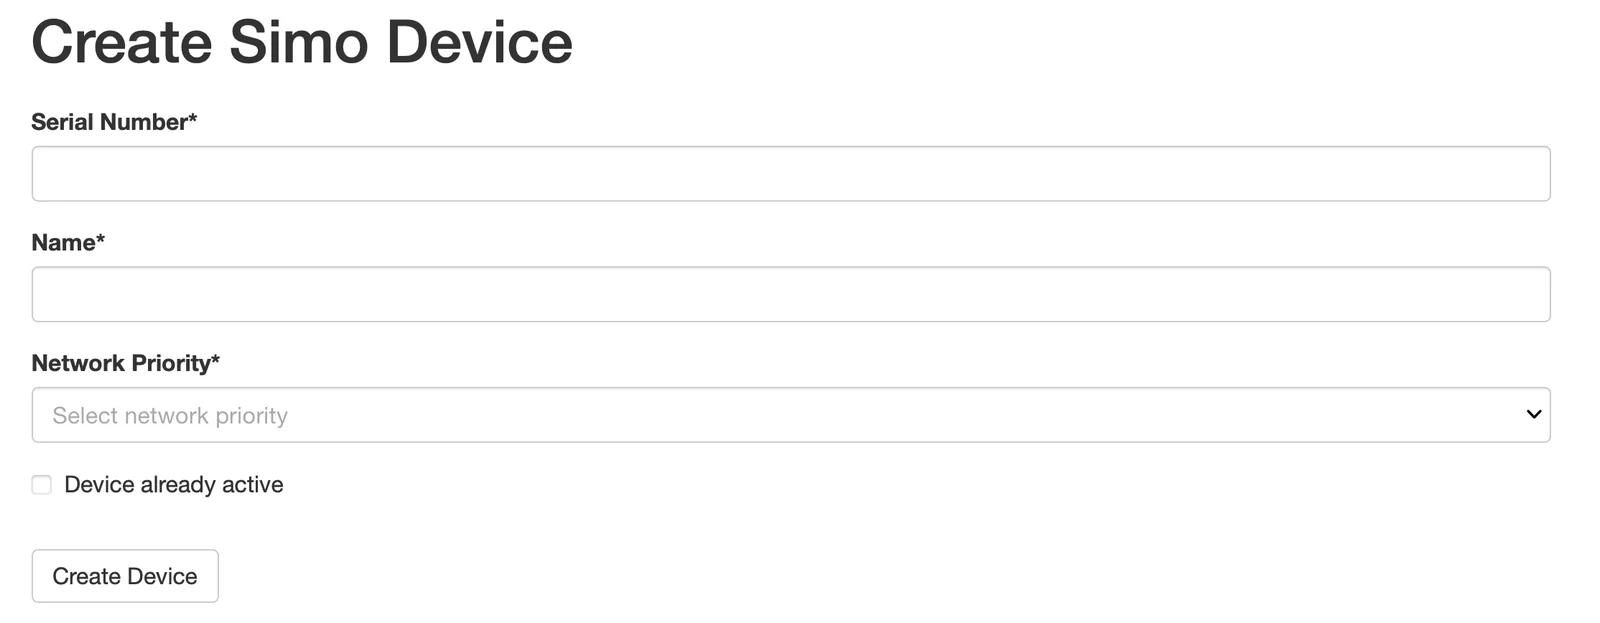
Go to Add SIMO Device, enter the serial number, assign a device name and network priority, and save. This adds the device to your inventory so you can proceed with activating the subscription.
Set it via Network Priority. Leave it blank and it defaults to Open Network, unless you have a different specified default.
The device connects to all carriers based on the best signal strength at the time, and switches on its own dynamically as the user changes location.
The device connects to all carriers but has a weighted preference for one specific carrier over the others. Named "Carrier Priority".
The device connects only to one identified preferred carrier and will not attach to any other. Named "Carrier Only".




success: true.
Make sure the device is plugged into power or turned on, and data can be used right away.
If the serial number doesn't appear in the dropdown during activation, add the device to your inventory first — then continue with the activation steps, skipping step 4.
Get to the Add SIMO Device page:
Fill in the Create SIMO Device form:
Continue with the activation steps, skipping step 4, to complete activation.
Locate and manage multi-carrier devices to view remaining data usage, top up plans, check connection status and perform remote troubleshooting actions.
Navigate to the Search SIMO Devices page.
Enter the Device SN.
Click Search Subscriptions, then click View once you've found the active device you're looking for, to get to the Device page.
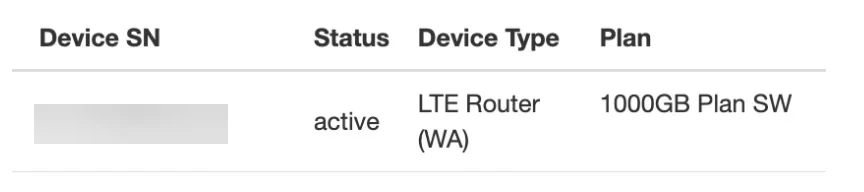
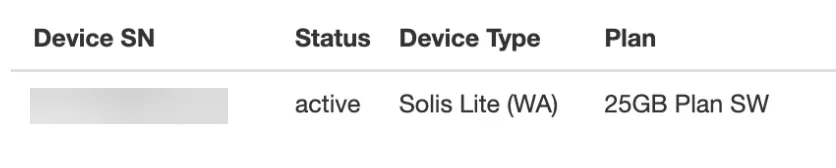
Upgrades apply immediately; downgrades take effect next billing cycle. Pick the change you need — the timing is the key difference.
Go to the SIMO Device page you want to upgrade.
Click the button at the top that says Set Plan.
Select the plan you wish to upgrade to and click Save.
If it's a permanent upgrade, also click Set Upcoming Plan and select the new plan the line should remain on.
Go back to the device page to confirm the changes were applied.
Go to the SIMO Subscriptions page you want to downgrade.
Click Update beside the upcoming plan name, or go to the sidebar and click Upcoming Plan.
Select the plan you wish to downgrade to and click Save.
Go back to the subscription page to confirm the changes were applied.
At this time we can only support upcoming downgrades. To downgrade a line effective immediately, the current subscription must be canceled and a new one activated on a lower-tiered plan.
Go to the SIMO Device page.
Click Update Device at the top of the page.
Input the new serial number and click Update Device.
Go back to the device page and check the device SN to confirm the new device was applied.

Prioritize which carrier networks a device will use.
Even priority for all networks.
Prioritizing one network over the others.
Only one network.
Go to the SIMO Device page.
From the top bar, click Network Priority.
From the dropdown, select the priority you want and click Save.
Go back to the subscription page and check Network Priority to confirm the new setting applied.
Suspending stops data flow but not billing. To stop paying for a line, cancel it instead.
Go to Search SIMO Devices.
Enter the device SN you want to suspend.
Click View to go to the SIMO Device page.
Click Suspend Device at the top.
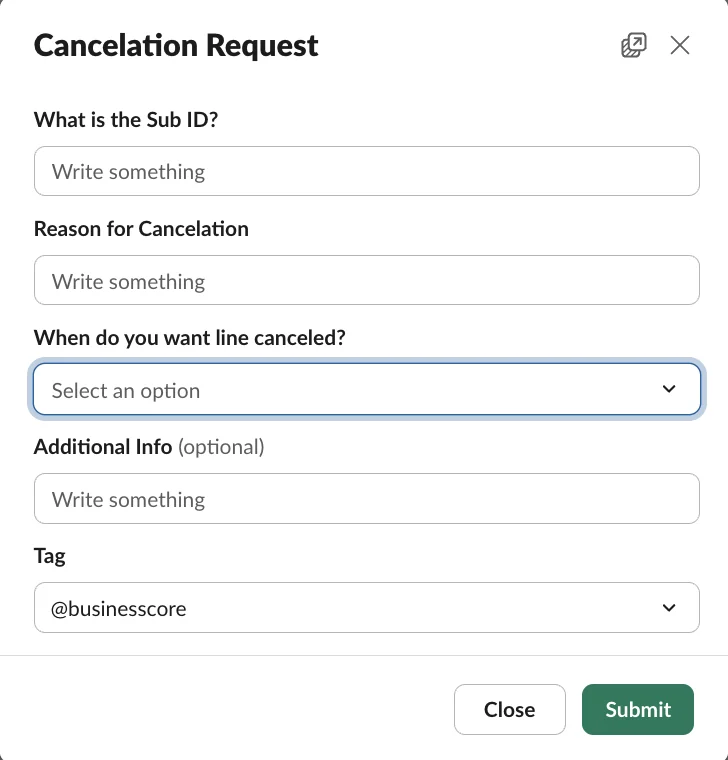
Suspending stops data flow from the device but doesn't affect billing. If you no longer wish to pay for the line, send a Cancelation Request via your Slack channel.
Collect the details from the subscription you want to cancel: Subscription ID, Device SN, and reason for cancelation.
Go to your Slack channel and fill out the Cancelation Request workflow.
The business support team will send a confirmation once the line is canceled.
Find the desired device via the SIMO Device search, click View, and scroll down to Diagnostic Info.
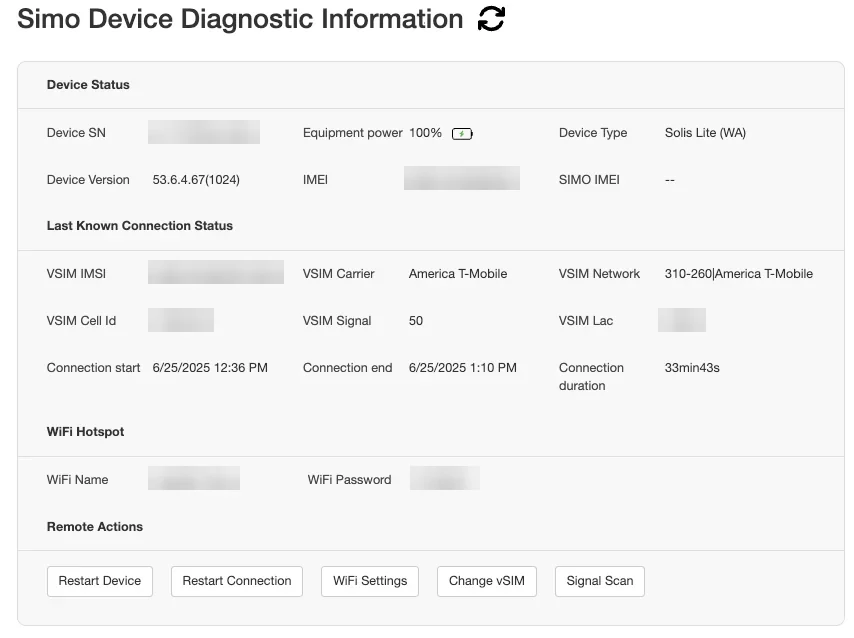
Connected.
No vSIM connected. Routers only.
Not connected.
Last Known Connection Status shows the last time an active connection occurred.
Remotely modify the network name (SSID) and password to improve security or simplify the connection process.
Only available for hotspot devices.
Monitor signal strength, connection status, battery level, recent network sessions, firmware version and more to help diagnose performance issues.
Wing Dash provides remote diagnostic capabilities for Solis Lite & Edge and CPE devices, eliminating the need for physical access to resolve common issues. These tools are accessible under the Diagnostic Information section of each device management page.
Remote actions only work when the connection status is online.

1–3 minutes
Remotely reboot the entire device when it's experiencing system-wide issues.
Use when: you need a full reset of the device, to allow a full reboot and rescan.
30–45 seconds
Refresh the SIM profile to resolve connectivity issues without a full device reboot.
Use when: you need a quick refresh of the connection.
Carrier swap
Swap to a different network carrier remotely if a device is having connectivity issues with its current carrier.
Use when: you want to specifically dispatch a card from a network, to see which network has the best quality.
Auto-reconnect
Trigger a fresh scan for the strongest available carrier signal and reconnect automatically.
Use when: the current network isn't working well and the system should rescan and try another.
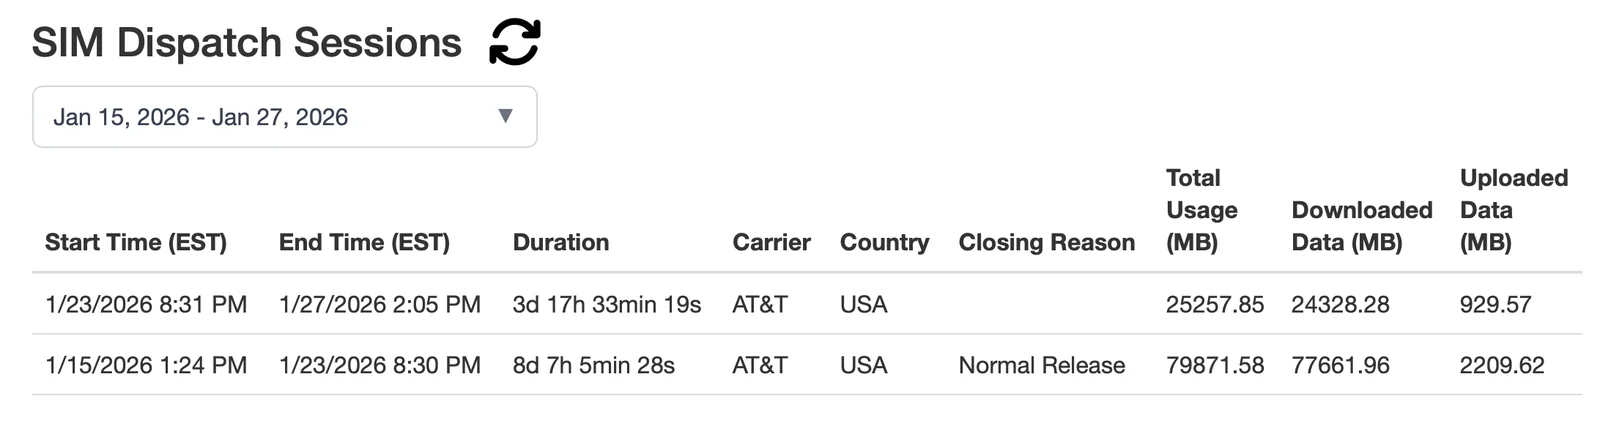
On the SIMO Device page, scroll down.
Select a date range — up to 31 days.
View the sessions.
If the device is online and you've already run the remote actions — Restart Connection, Restart Device, Signal Scan — and it still isn't resolved, or if the device is offline, work down this list.
Using a pin or paperclip, have them press and hold the reset button for 15 seconds, and wait until all indicator lights turn off, then back on.
Note: restoring factory settings reverts the LTE Router to its defaults, including Wi-Fi name and password.
Swap the two antennas (left to right), making sure they're screwed on tightly.
If none of the above works, reach out to Wing Support via Slack for further investigation.
Resolve common connectivity issues instantly, with no support required. Access it via the device QR code, or at mywifistatus.com using the device serial number.
Search all networks and connect to the strongest signal.
Restart the connection to fix connectivity issues.
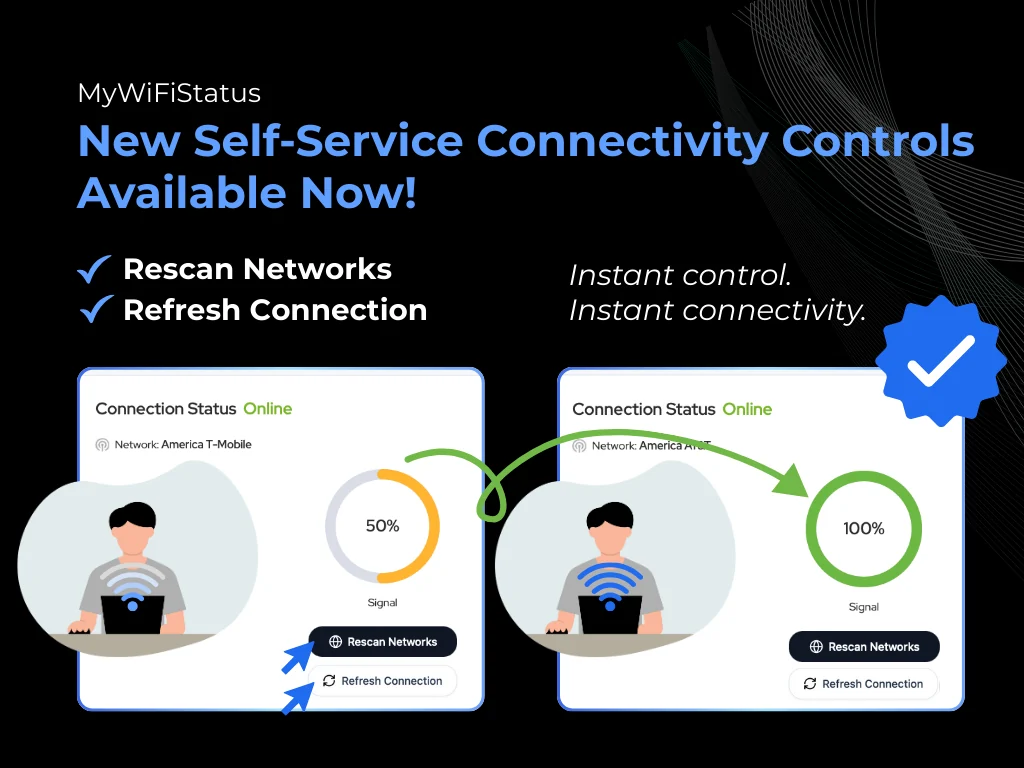
Previously, connectivity issues required support tickets and multi-party escalation. Now customers can restore connectivity in minutes, on their own — these actions resolve roughly 80% of connectivity-related support tickets.
New
To improve efficiency and response times, we've updated our support process to emphasize self-service as the first line of resolution. This reduces wait times and allows our support team to focus on complex issues that truly require escalation — increasing customer satisfaction and minimizing downtime.
All multi-carrier support must begin with self-service attempts using the tools provided in Wing Dash.
If the first attempt doesn't resolve the issue, try a different approach or tool within Wing Dash.
After 1–2 failed attempts, raise a Troubleshooting Request with the device SN, IMEI, steps taken, and screenshots if any.
Ready to take control of your multi-carrier devices? Follow these steps to get your team set up with Wing Dash access.
Add the subscription, set network priority, activate the line.
02ManagePlan changes, device swaps, suspensions and cancelations.
03TroubleshootDiagnostics and remote actions — no site visit needed.
04EscalateA Slack request, only once self-service is exhausted.
Contact your account manager or post in your dedicated Slack channel — thank you!
Open Wing Dash